
Three Simple Christmas Crafts
Katharine Bosman makes a case for some simple crafts to take the edge off Christmas stress.
Christmas crafting? Yes, I know it may seem unrealistic to add this to the mix with everything else that goes on in December… BUT! here are a couple of very straightforward things to make (I promise…).
Plus when it all feels a bit much in early/mid December (writing cards, nativity costumes, teachers’ presents, everyone’s presents, planning Christmas food, endless dark, half the family’s ill, you know, that kind of thing), it’s actually quite nice to stick some pizza in the oven, sit down with your kids and make something festive together.
Paper snowflakes
Ingredients
All you need is white paper and scissors.
The paper should be square, so if you have A4 size, fold at the corner for a square shape and trim.
To Make

1. Fold your square in half diagonally - so you have one triangle
2. Then fold your triangle in half - so you have a smaller triangle.
3. Then fold one third of your triangle to the back and one third in front - you will be left with a tall thin triangle with ends at the bottom which you need to trim off.
4. Now you’re ready to cut patterns into your snowflake along each edge.
5. Unfold and you’ll have a beautiful 6 pointed snowflake to stick on your window.
Ta dah!
Salt dough decorations
I have made a LOT of these over the past few years (they are brilliant for many things, hanging on the tree, presents for teachers or anyone really, decorating them as an activity for school Christmas fairs…). They are easy to make and fun for kids to do. I’ve found these recipes from Anna Ranson at her brilliant site The Imagination Tree are the best.
Ingredients
All you need is
1 cup of salt
1 cup of plain flour
Up to 1 cup of water
To Make
This recipe makes a pale brown dough. Mix the salt and flour together, then add the water gradually until you get a good dough that isn’t too sticky and can be rolled out.
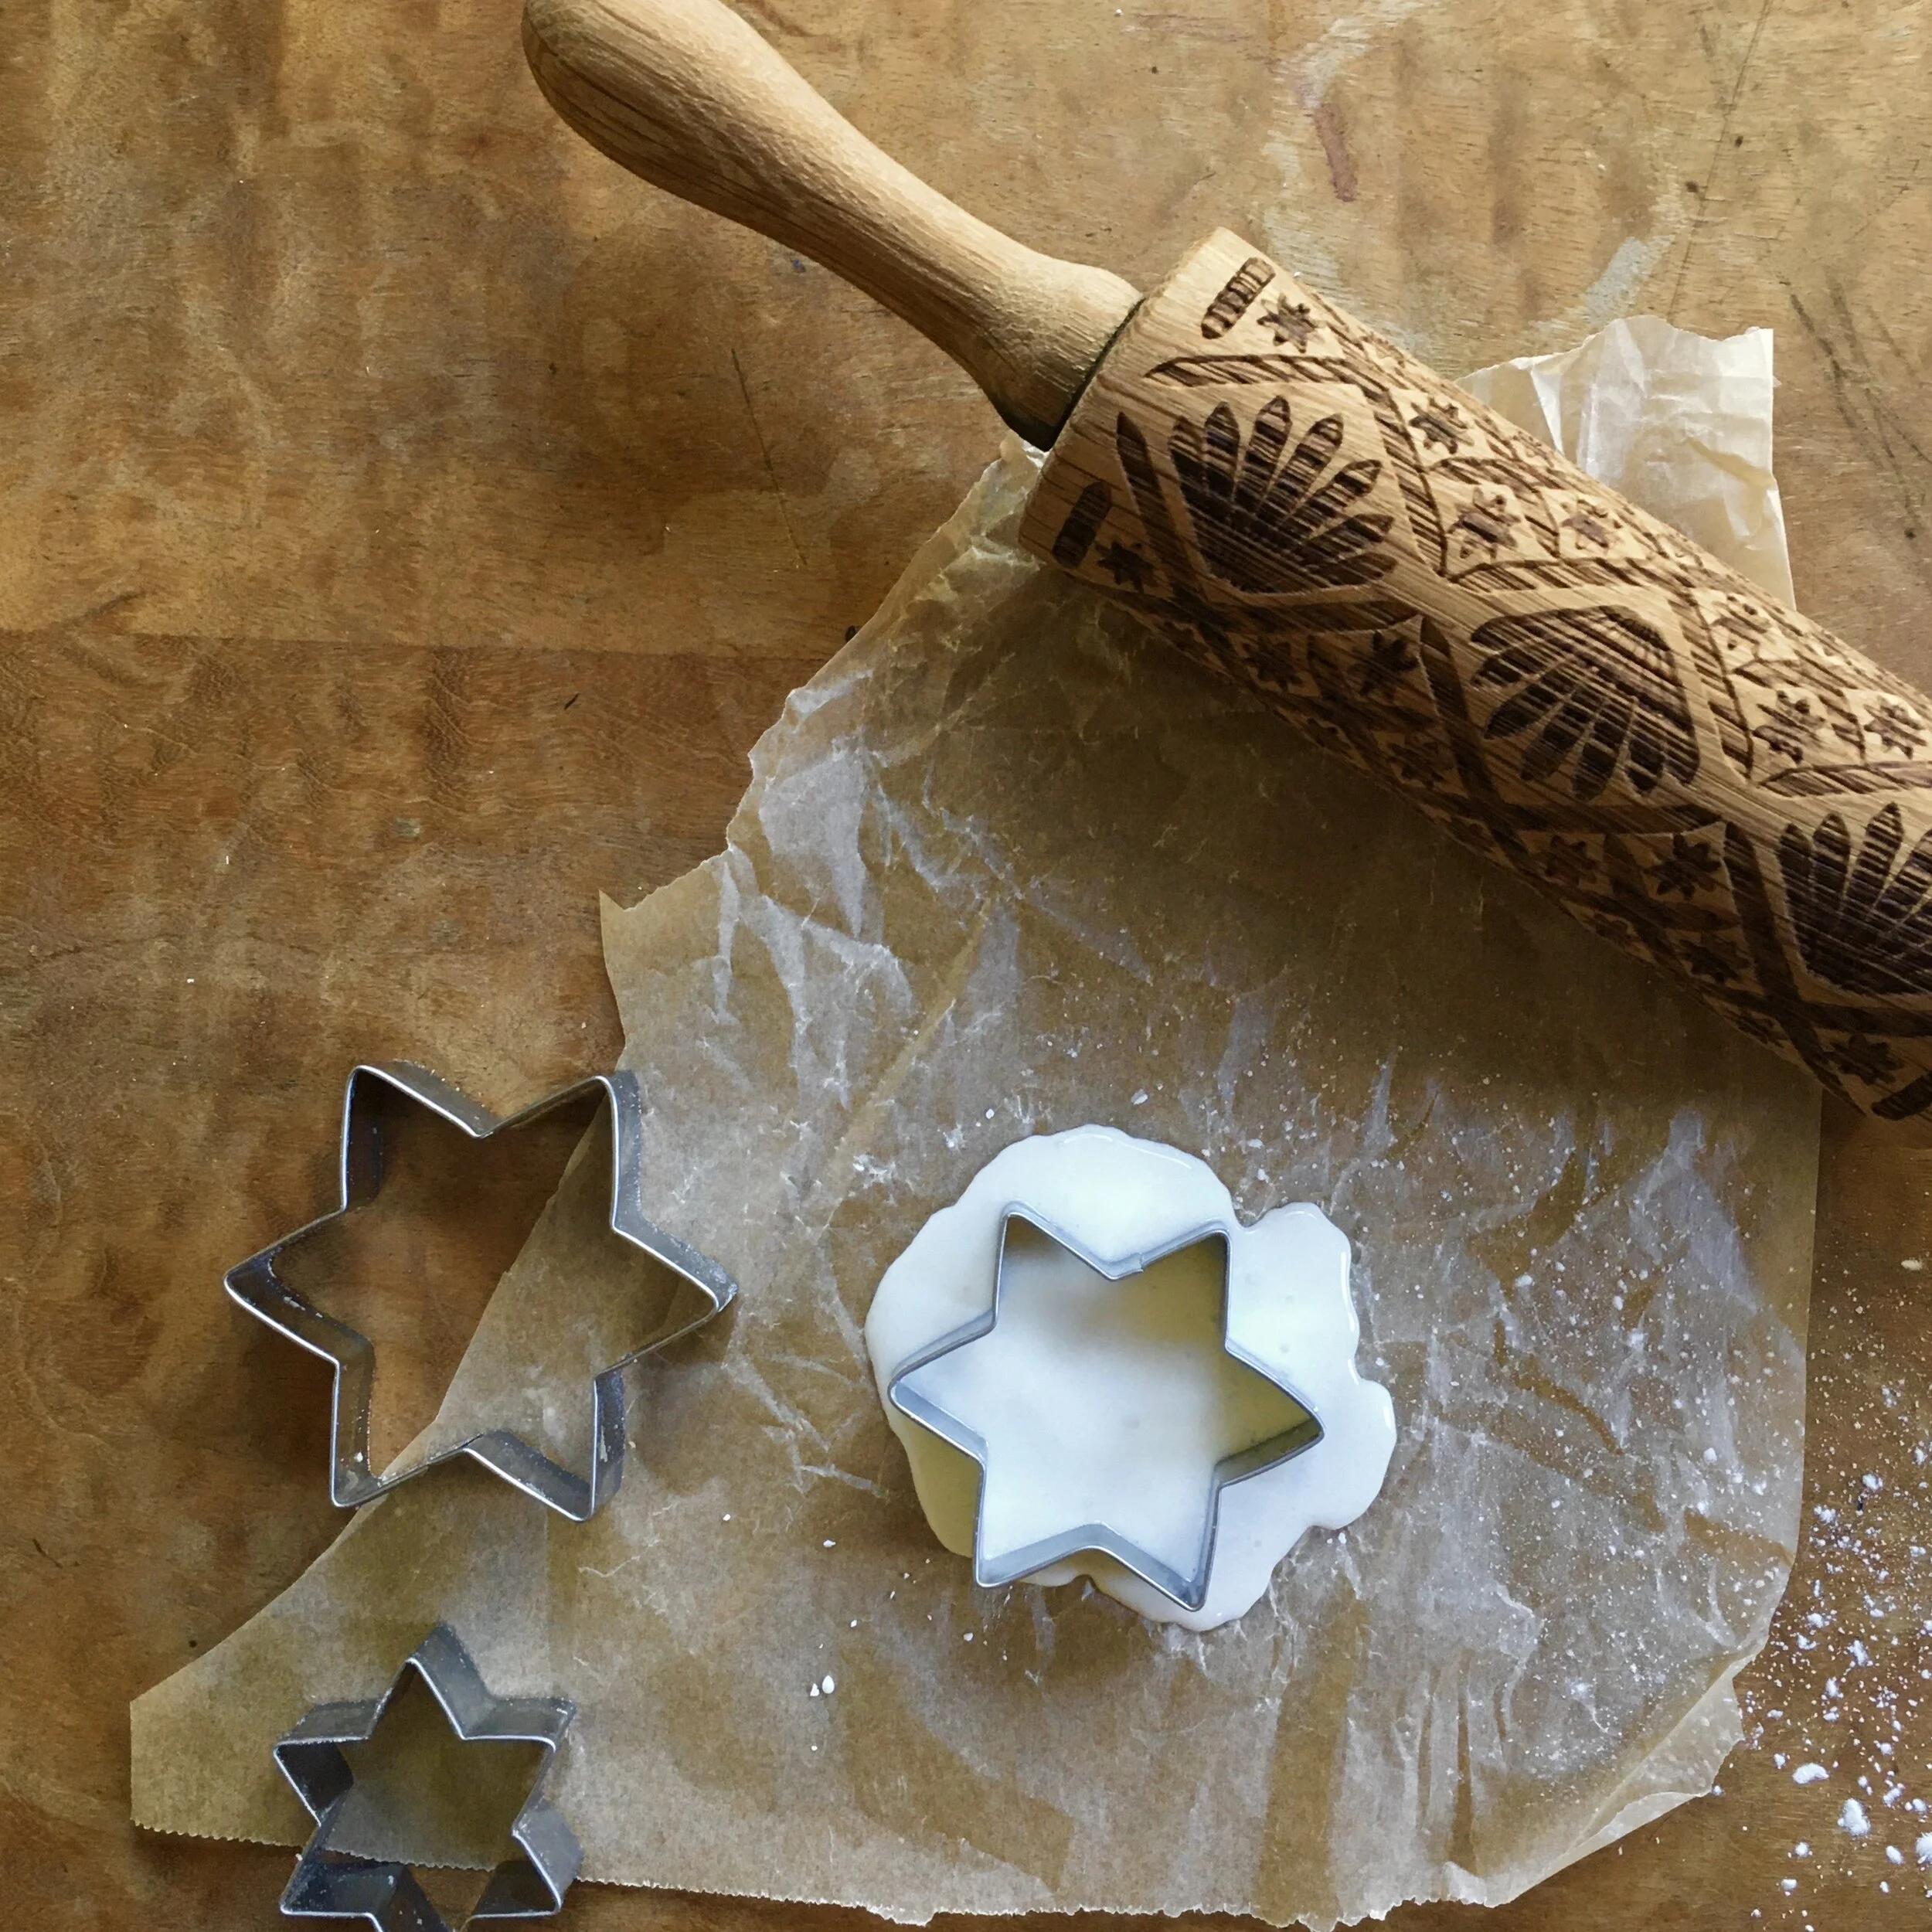
Then get creative. Use biscuit cutters to cut out shapes, and a straw or skewer to make a hole if you are planning to thread them to hang on the tree. Or kids can make handprints in a large circle of dough. If you have a fancy rolling pin with patterns on it you can use this to great effect.
They need to be cooked in the oven for around 3 hours at a very low temperature, 100 degrees C. Sometimes I leave mine in the oven overnight to completely dry out. They may need to be turned over depending on how thick the dough is. Once the decorations are cooked they can be painted (acrylic paint is best for bright colours).
If you fancy making white decorations (which don’t need to be painted because they look so lovely on their own) then here’s the recipe for you...
1 cup bicarbonate of soda
1/2 cup corn flour
3/4 cup of warm water
Optional glitter
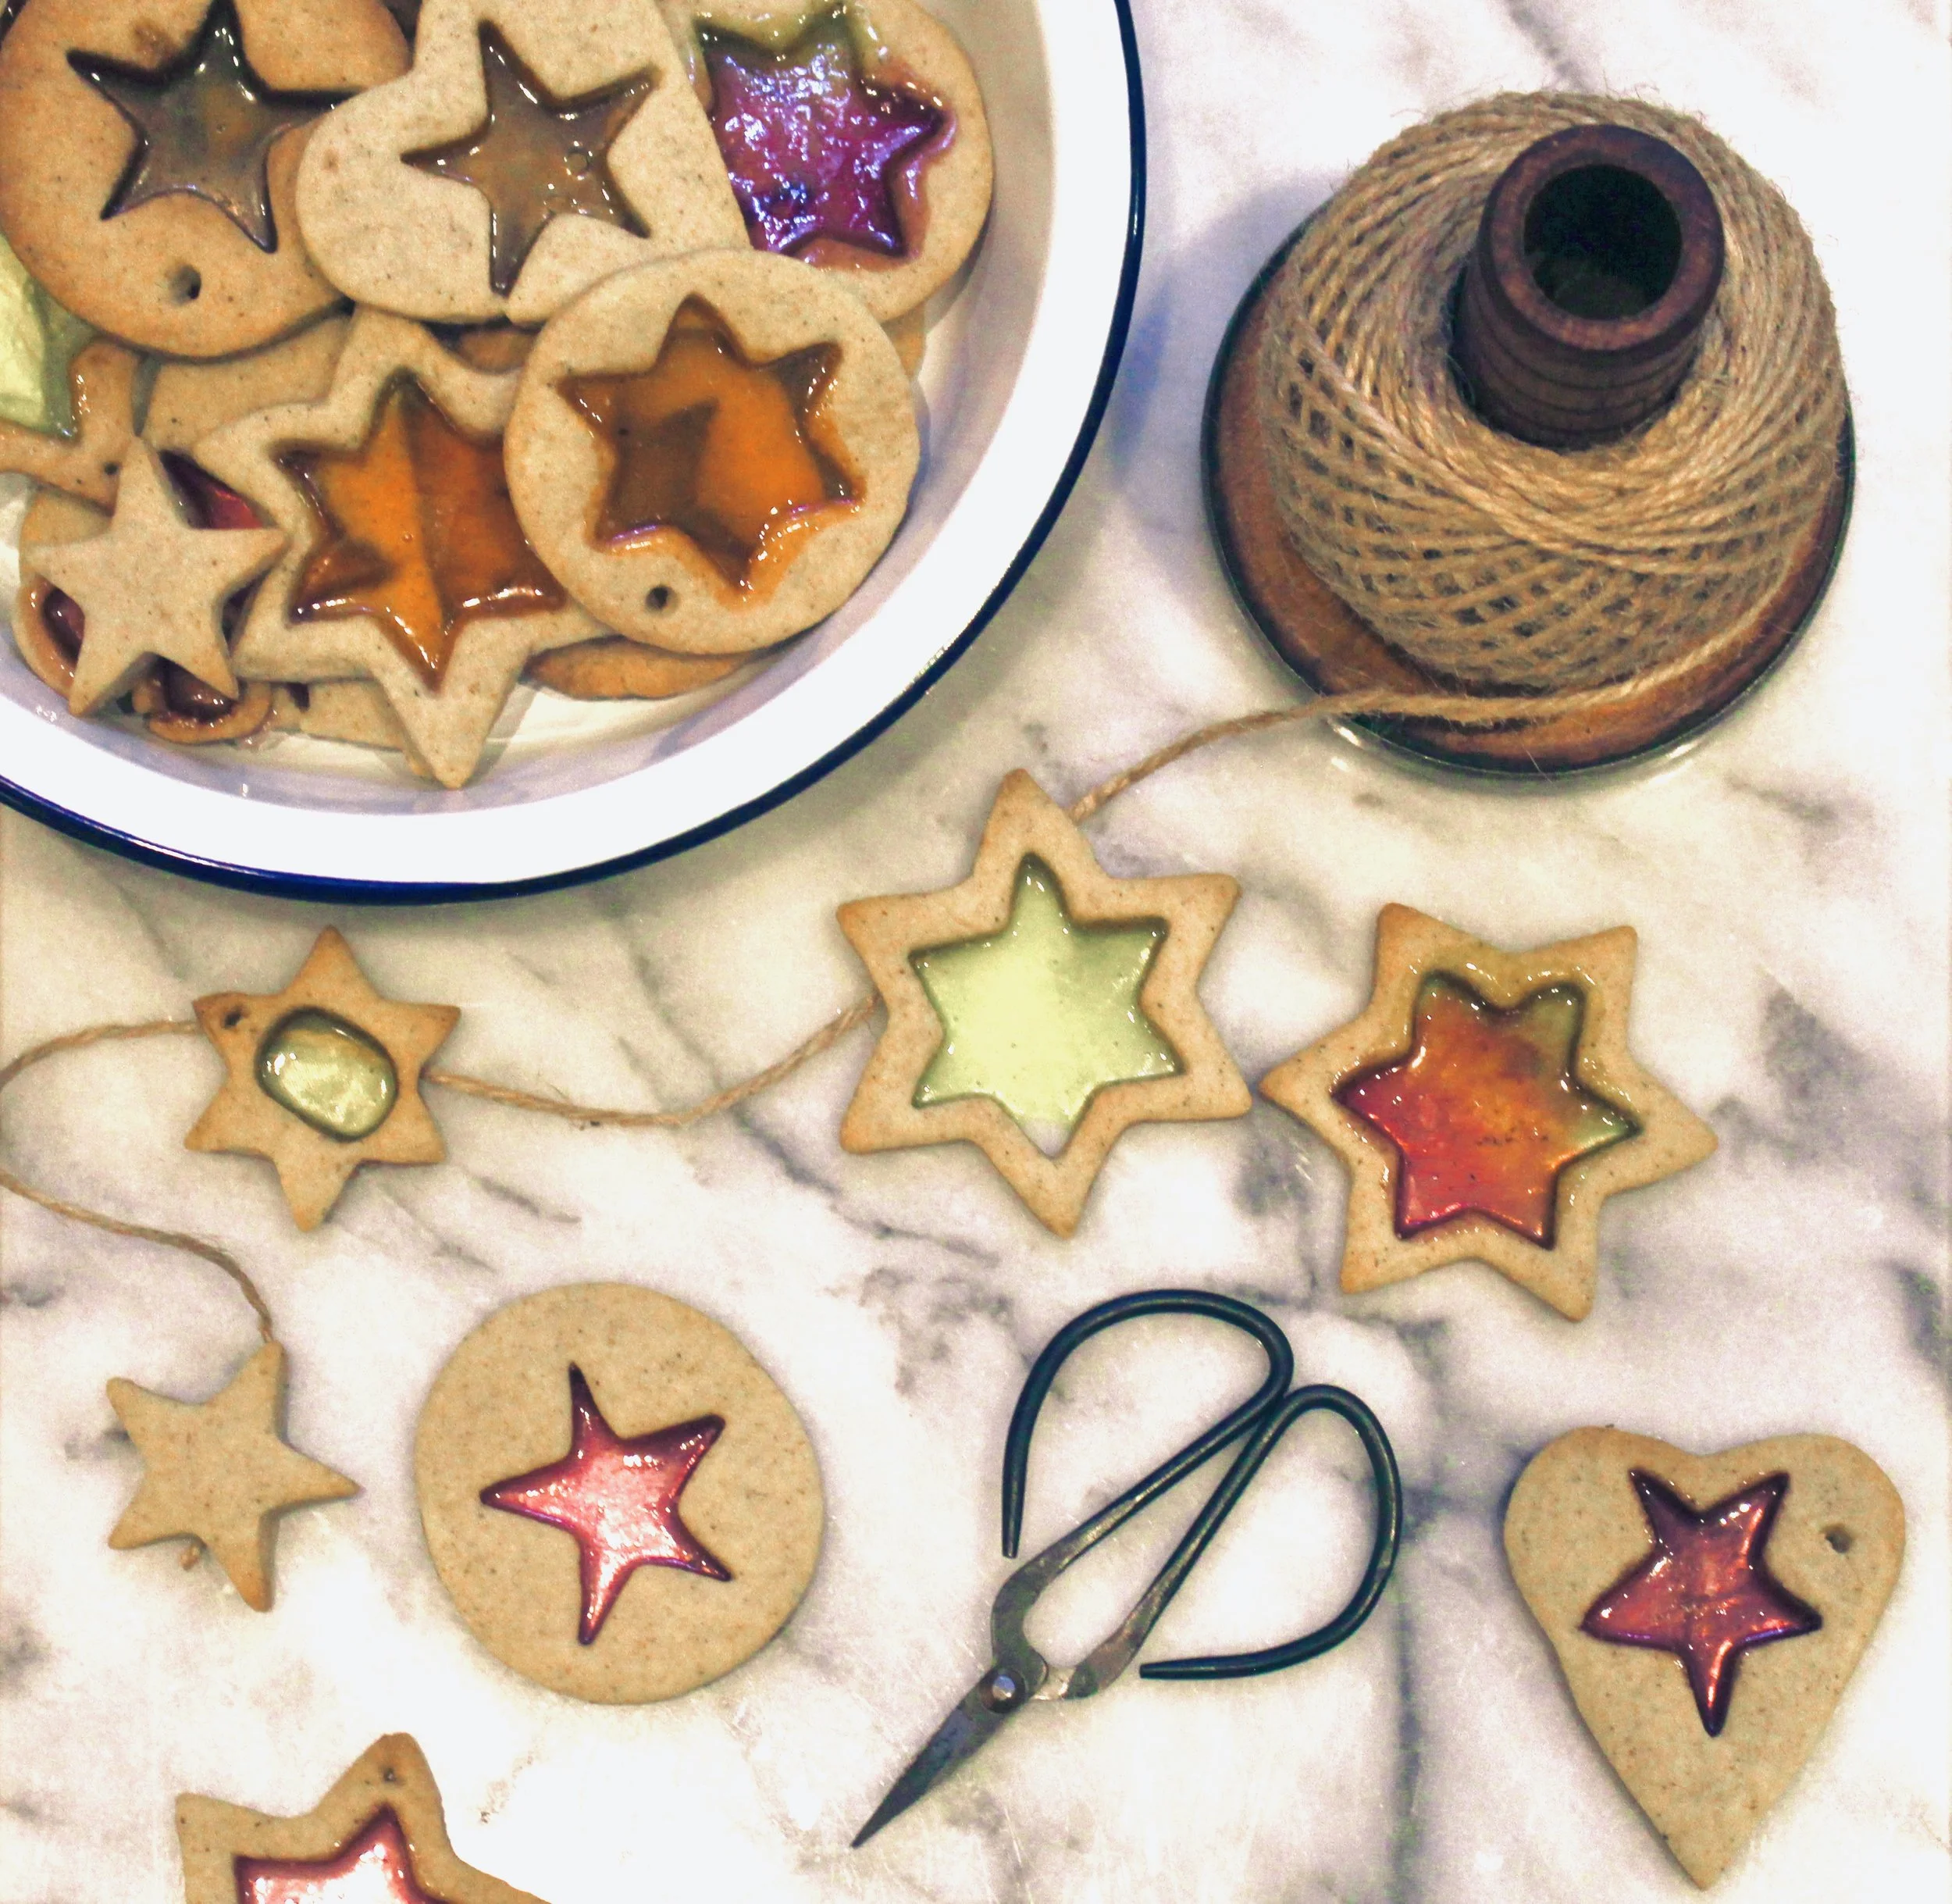
Mix the ingredients in a pan and gently heat, stirring, till it begins to come together into a dough. Leave it to cool for a minute and knead it till it looks like play dough. Cut and bake this dough in exactly the same way as the basic salt dough – you can make beautiful white decorations which look very fetching with red and white butchers’ twine threaded through them, or silver ribbon.
Pomanders
These make lovely presents, but you’ll want some to keep some at home too. The scent is delightful.
Ingredients
All you need are oranges, cloves and wide ribbon (1cm across roughly).
To Make

Essentially you’re just sticking cloves into oranges, but of course this can be done in a whole range of decorative ways. Making pomanders is a great kids’ activity but they will probably find the cloves a bit sharp on their fingers when they’re pushing them in.
You can make holes in the orange rind first, either with toothpicks or birthday cake candle holders (the latter is probably best for small fingers). If you want to go fancy with your decoration it’s a good idea to mark it on the orange first - swirls, lines, whatever you fancy. Or you can cover the whole orange, but that takes a lot of cloves….
The ribbon can be tied from top to bottom and made into a loop for hanging. If you’re planning on leaving a few in a bowl then they don’t necessarily need ribbon. They should last around ten days, depending on how warm your home is, and how many cloves you’ve used. Enjoy!
Katharine Bosman lives in London and is the mother of two children. She spent ten years working for a social justice campaigning organisation, and is energised by where parenthood is taking her.
See all in Issue 8


Advent calendars are big business these days. Kirstie Beaven remembers some advent traditions and suggests a new one.